Show Advanced
You can also configure each field yourself. Click Show advanced for more details. Depending on the selected mode (Cloud sync / sFTP/ Kaltura / Presentations2Go) you will see a different interface.
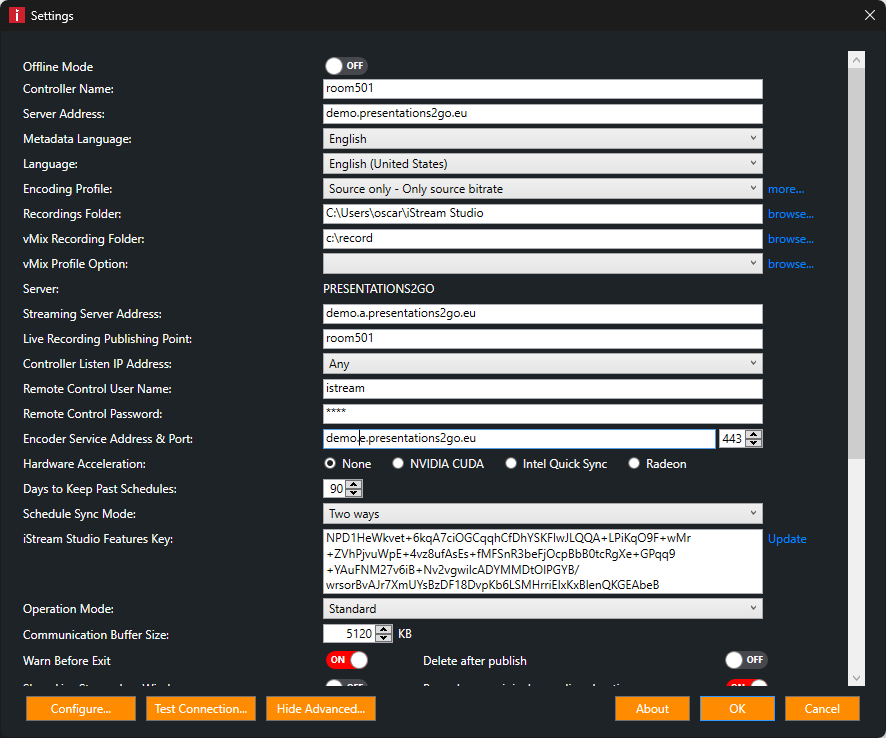
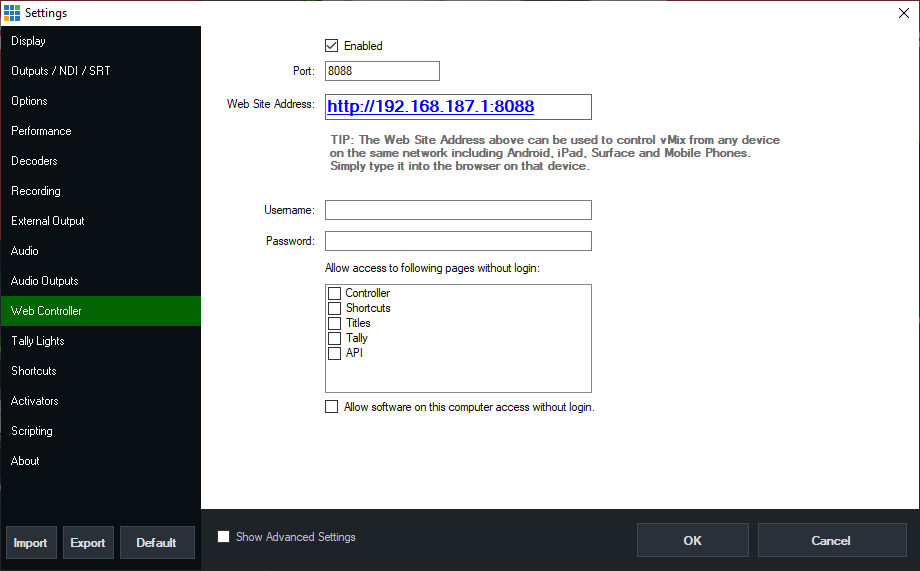
Remote Control User Name
These settings are only used to remote control the application using the webinterface or API (e.g. AMX / CRESTON integration).
Remote Control Password
These settings are only used to remote control the application using the webinterface or API (e.g. AMX / CRESTON integration).
Days to keep past schedules
Past schedules are only removed from the iStream Studio list after this time period. Default value is 90 days.
iStream Studio Features key
The features key is automatically updated during application start when you are on-line. The features key unlocks the software based on the features you purchased.
Operation Mode
There are two operation modes
- Standard; lecture capture / event mode
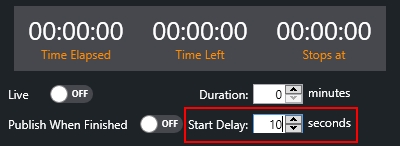
- Personal Capture.; In Personal Capture mode theiStream Studio will minimize when you start a recording. Also you can setup a countdown delay.
Communication Buffer Size
This parameter influences the upload speed during publication. The default value is 5120KB.
When you have limited bandwidth and experience the upload is failing or keeps retrying you can decrease this value to e.g. 1024, 512 or even 256.
If you have a stable and excellent bandwidth you can double the value to 10240

Warn before exit
Check this if you want to get a warning pop-up before the application closes. Keep in mind closing the application will also close vMix.
Disable Canvas
When you start recording with a output source which contains a multi-view with 2 sources (like the side-by-side source), the metadata will be setup to generate slides based on the slide source value and canvas coordinates. This will result in index slides. However, during manual recordings of special events you might want to disable this feature and be free to change output sources as you like without concerning about slide detection an player consequences.
Delete after publish
This feature will delete the mp4 file after publishing, but will keep the folder with log, metadata and thumbnail on the local disk.
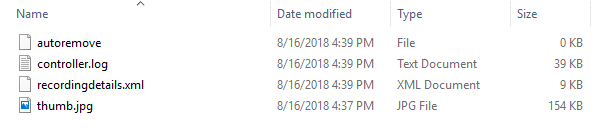
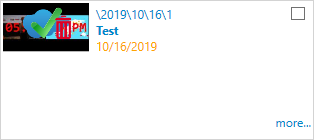
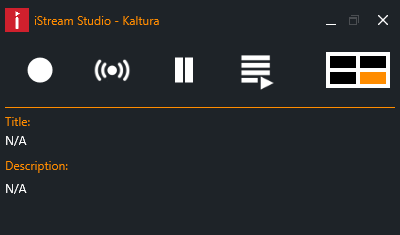
This way you can still monitor history in the publish window. Publish and deleted files can be recognized with the icon below.
Pause keeps original recording duration
Default enabled. When you disable this feature the recording duration will increase while using pause. E.g. when you start with a 100 minute duration and pause for 10 minutes the total recording time would become 110 minutes. Since this would cause issues with automatic scheduled recordings, it is advised to keep this feature turned on.
Auto Upgrade
When you start theiStream Studio the software will check on-line for new releases and pop-up a notification window when a new release is found.
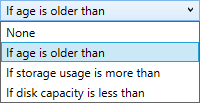
Automatic Deletion Rule
To prevent full disks, you can enable automatic cleanup of old recordings.
vMix User Name & vMix Password
In case you want to protect the vMix API, you need to allow iStream Studio to call the vMix APIs.
Layout
iStream installs a list of vmix profiles you to use (C:\Program Files\iStream Studio). Match the layout with the profile you have setup in vMix to split the tracks accordingly.
Slide source
Slide detection is performed on the selected part of the output you select here. In the main interface you will see a hint (orange). Slide detection is done after recording, it will use the last known value and be the some for the complete recording.
NOTE: Use alt+click to select another area.
Minimum Slide Interval
Slide detection can create a lot of slides, especially when video is presented in the slide detection area. This can increase the loading time of the Kaltura player. Therefore you can limit the slide interval by setting a timer interval. For PowerPoint presentations a 5 or 10 second interval would good to start with.