Quickstart configuration
iStream Studio will start with the following default configuration.

Follow these steps to get you up and running.
Video inputs
1. Click on the Settings icon in the bottom right corner of the Presenter preview
2. Click on the Change icon in the top right corner of the popup.

3. Select Camera from the left menu panel
4. Select the input source connected to the presenter camera.
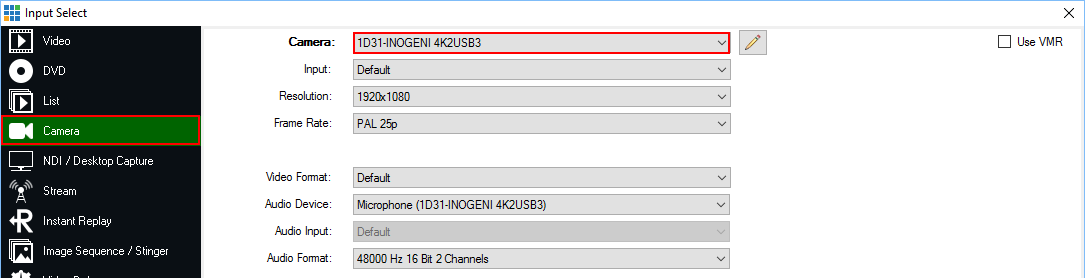
5. Commit with OK and close the popup.

6. Repeat steps 1 - 5 for the Presentation input.
Audio Input
In case you use combined audio/video input devices you can skip these steps. To use a separate audio driver please continue
7. Click on the settings icon of the Side-by-Side preview
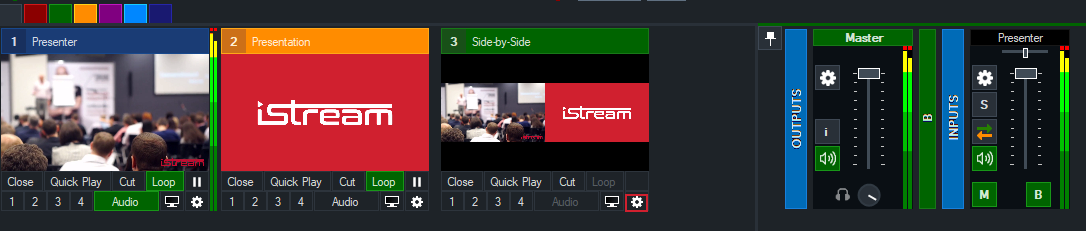
8. Click on the Change icon in the top right corner of the popup.

9. Select Audio Input from the left menu panel
10. Select the audio device from the dropdown list.
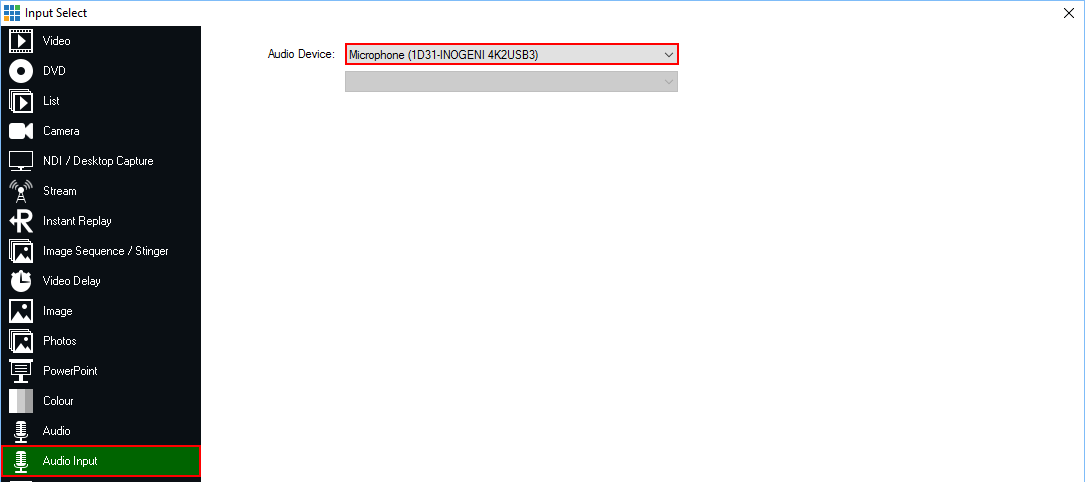
11. Commit with OK and close the popup.
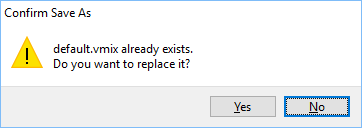
Save Settings
After you have configured you audio and video sources you need to save your settings to the default.vmix profile.
The default.vmix profile is saved in your personal local profile.

- Click Save
- Make sure you are in the correct folder.
NOTE: You can get there with the following path: %LOCALAPPDATA%\iStream Studio
- Select default.vmix
- Confirm with Yes